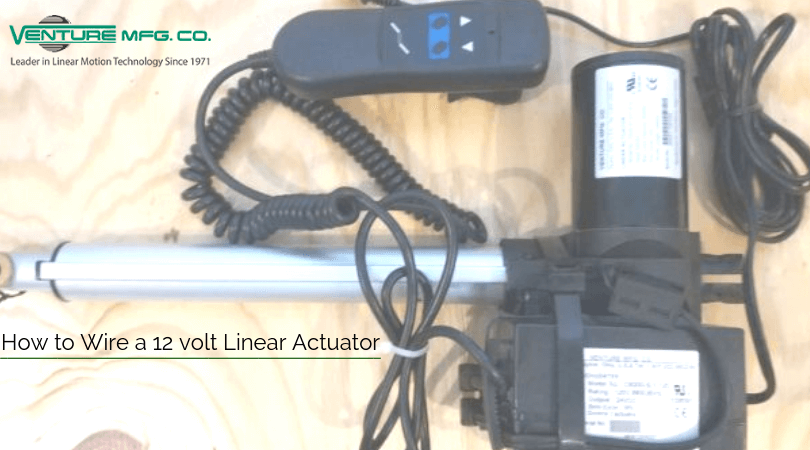
Actuators are used in various machines and equipment to facilitate motion. Linear actuators enable motion in s straight line. A 12v linear actuator is the most basic and widely used type. As the name suggests, they operate with the help of a 12v DC electric supply. They can be operated with AC power supply as well. Are you intrigued to know how these linear actuators are wired? Read the post to know more.
A Small Introduction to 12v Linear Actuator
The 12v linear actuators are compact sized and easy to install. They comprise a positive and a negative wire, internal limit switches, and mounting holes at both ends. They are especially applicable in case of lighter payloads and limited space. They can even work on battery power. 12v linear actuators help improve the mechanical efficiency, load capacity, and speed. They have a huge application across industries such as marine, automobile, and aviation among others. These are some of the application areas:
- Valves and dampers
- Computer peripherals
- Pneumatic and hydraulic cylinders
- Doors and knobs
- Automotive components
- Drawers
- Kitchen equipment
Tips to Wire a 12V Linear Actuator
In this process, our objective is to connect the linear actuator to the rocker switch. Wiring of this actuator can be efficiently done with the help of a rocker switch, which controls the extending and retracting movements of the actuator. A rocker switch could be momentary as well as non-momentary. To wire the actuator, we will need the following apparatus:
- Linear actuator
- Rocker switch
- Fuse holders
- Limit switches
- Positive and negative wires
- Power source— 12v DC battery or 110/220V AC power adapter with amperage of at least 10A
- Molex connector
- Diodes
- Wire strippers
- In-line fuse
These small-sized and highly efficient 12v linear actuators weigh in the range of 35–150 lbs. The in-line fuse encloses the fuse holder, which helps prevent damages that may occur due to power fluctuations. The power source aids in energy conversion and controls one or more actuators. The Molex connector helps the connected wires to touch the motor. The rocker switch, an important part, has a number of terminals—t1 to t6. Out of these terminals, t1 and t6 are connected to the battery’s positive terminal. T2 is the actuator terminal depicted in black, while t5 is the actuator terminal depicted in red. T3 and t4 are the negative terminals of the battery.
Now here are the actual process steps:
- We need to cut two wires to a comfortable length of reaching the battery; they should be loose enough.
- Connect t3 and t4 to the negative terminal of the battery or power supply.
- Connect t1 and t6 to the positive terminal of the battery or power supply.
- T2 and t5 act as common connectors. Connect them to the linear actuator wires.
- Once all the connections are done, press the button on the rocker switch to apply 12v that will facilitate extending motion of the actuator.
- Pressing the switch at the opposite end would facilitate the retracting motion of the actuator.
- The rocker switch has a 12v LED light which illuminates when everything is wired correctly.
So, we hope the wiring process now looks easy and you can try it on your own. However, it is essential to get good quality parts from a reliable manufacturer. Venture Manufacturing Co. is a manufacturer of 12V linear actuators. The company provides these actuators in different configurations.

